
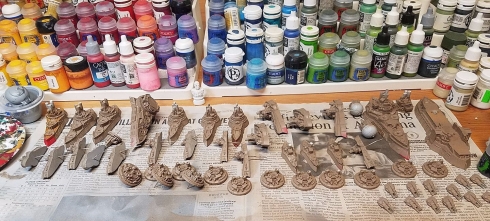
Two of my oldest Orks, these dreadnoughts…now Deff Dreads…are much smaller than the current models. Decided to mount both on a single Dread base as a pair of Dreads. Working on what to do with the rest of the base and their positioning.
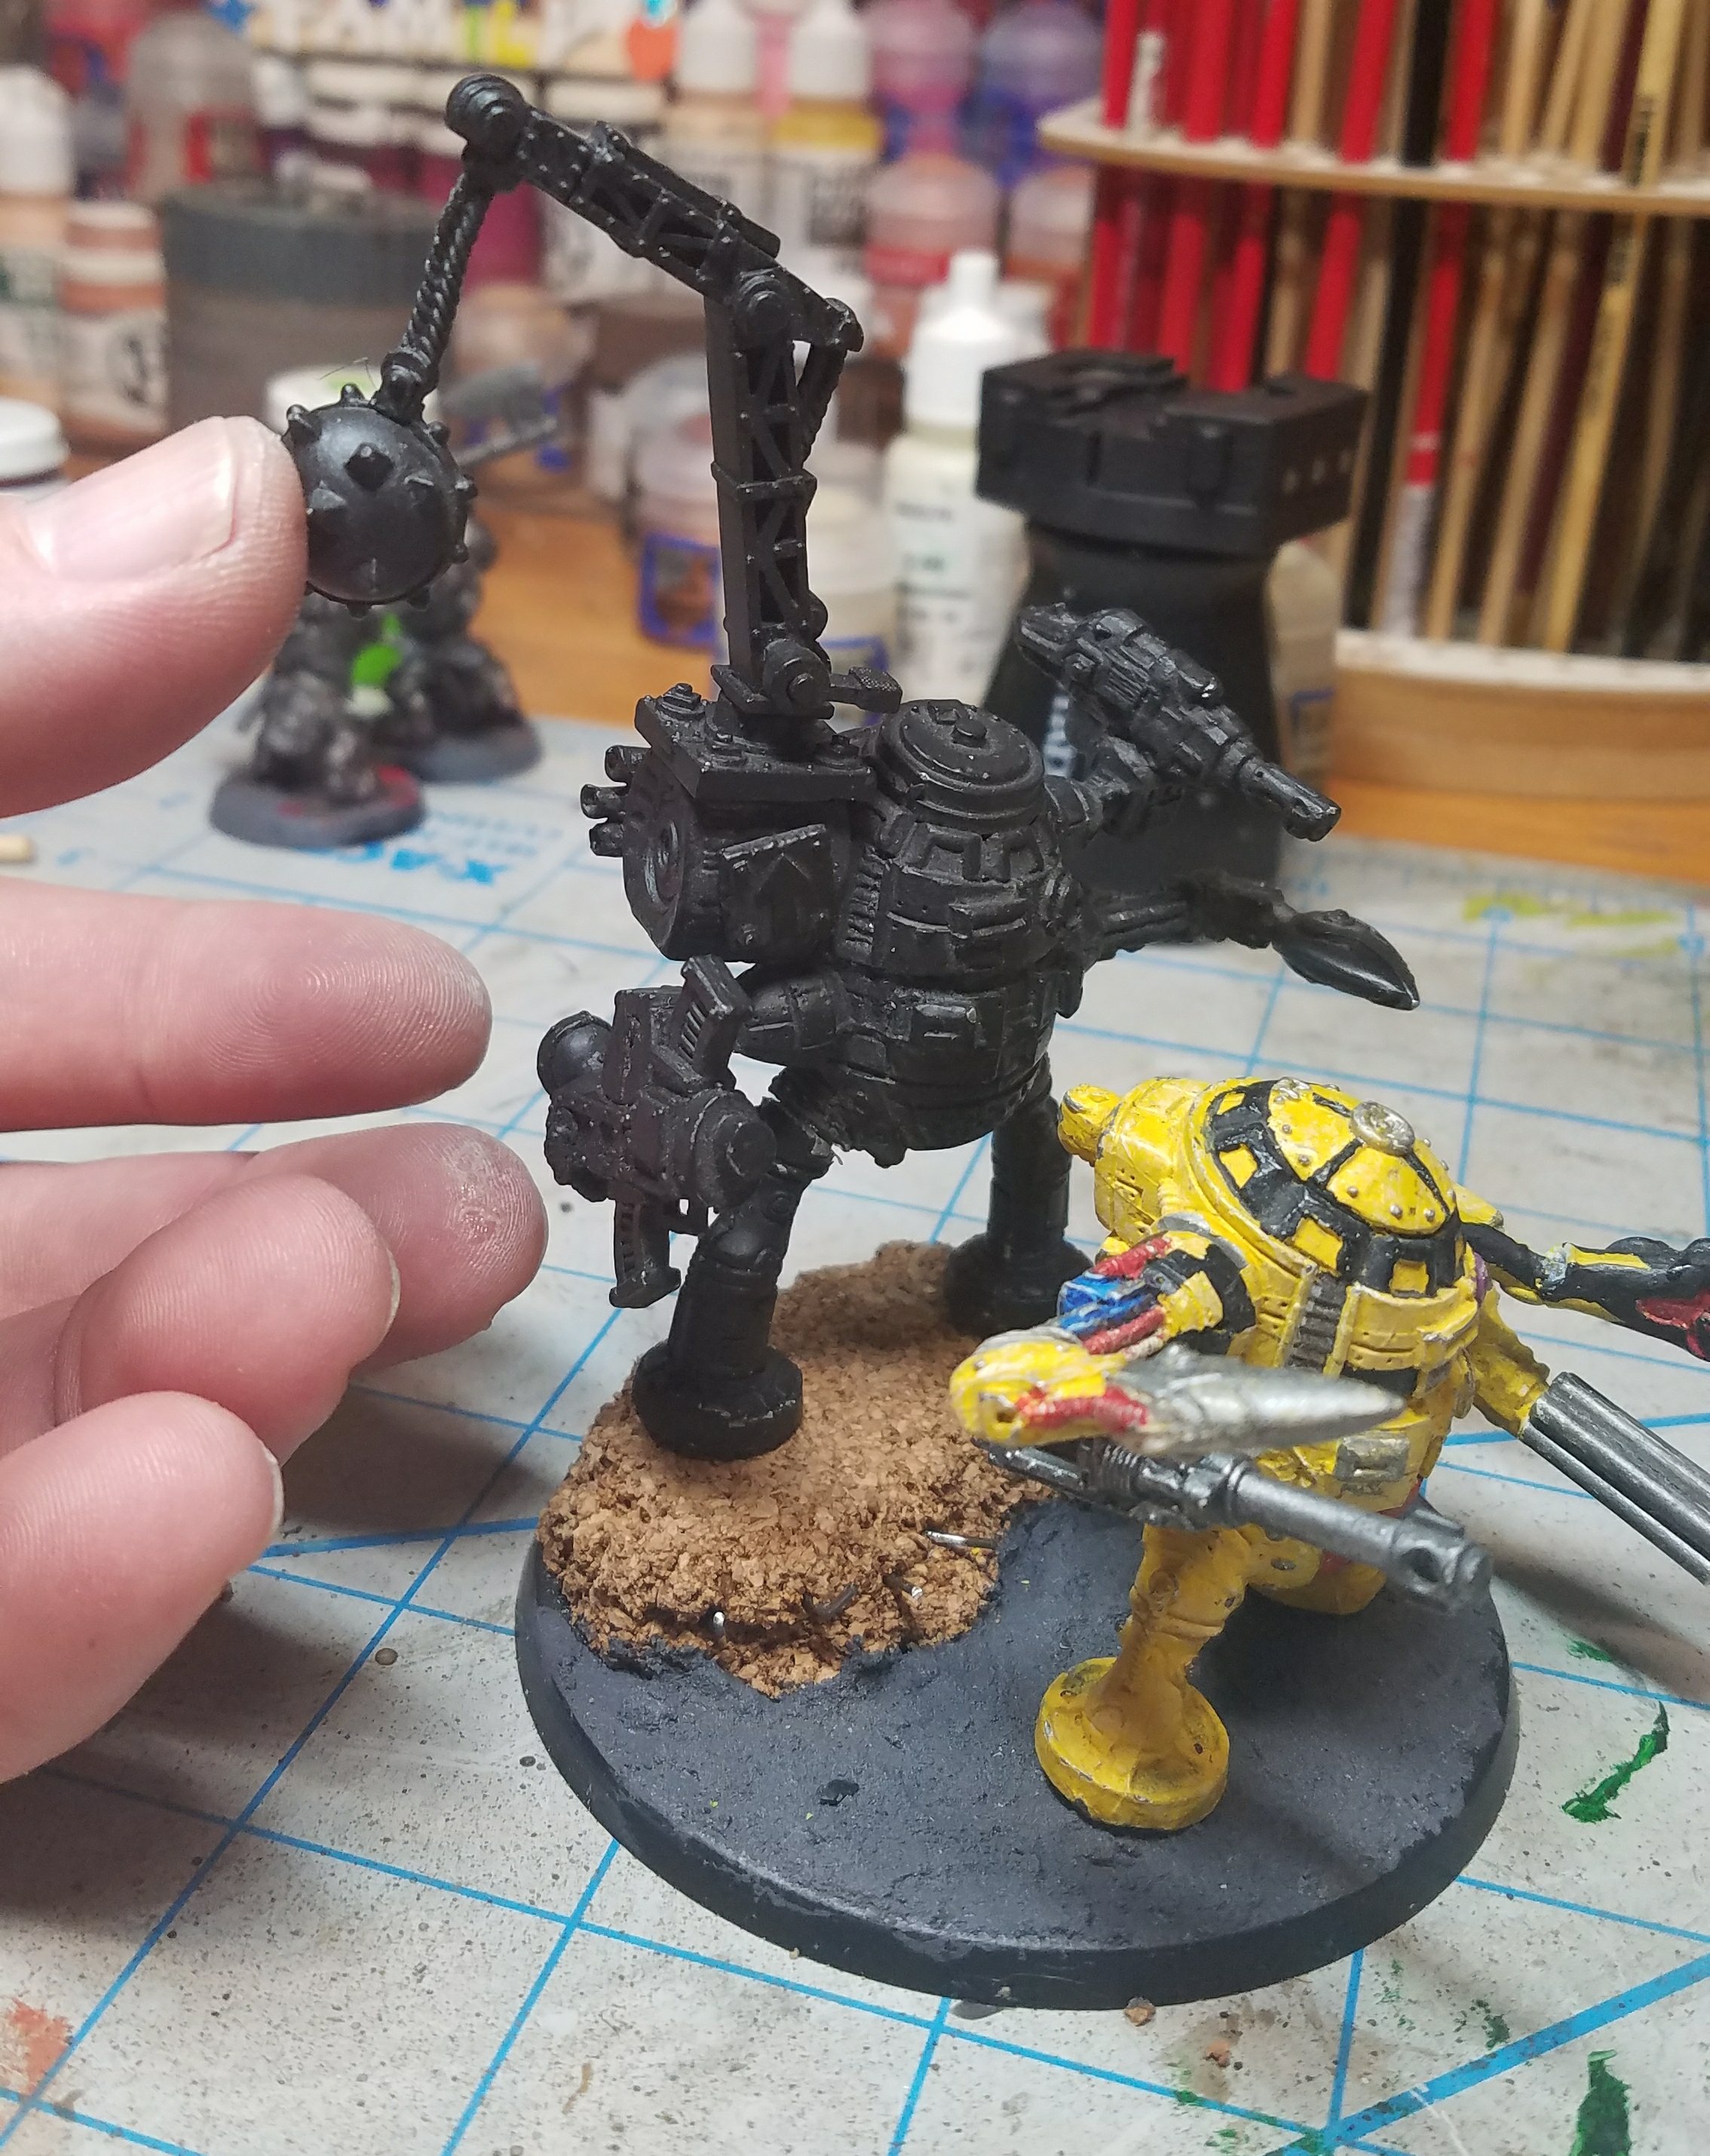

Two of my oldest Orks, these dreadnoughts…now Deff Dreads…are much smaller than the current models. Decided to mount both on a single Dread base as a pair of Dreads. Working on what to do with the rest of the base and their positioning.
In true Shiny Penny fashion I’ve shifted my painting around a bit. My Reavers are not yet completed, but I picked up the two new warbands for the game, the Sepulchral Guard and Ironjaw’s Boys. In keeping with the initial releases the models in these are great as well, really capturing the feel the game’s trying for. The undead are great, since we haven’t seen many new undead models for a few years now. Love the character in them. The Ironjaws are also nice, more standard ‘orc’ look with their Brute armor, but still great. I’m still messing with the orc armor (sorry, orruk) since I want to carry that style over to my Age of Sigmar Ironjaw armor as well. Going for a beat up rusty look vs. painted armor. But for now figured the undead were the fastest finish.
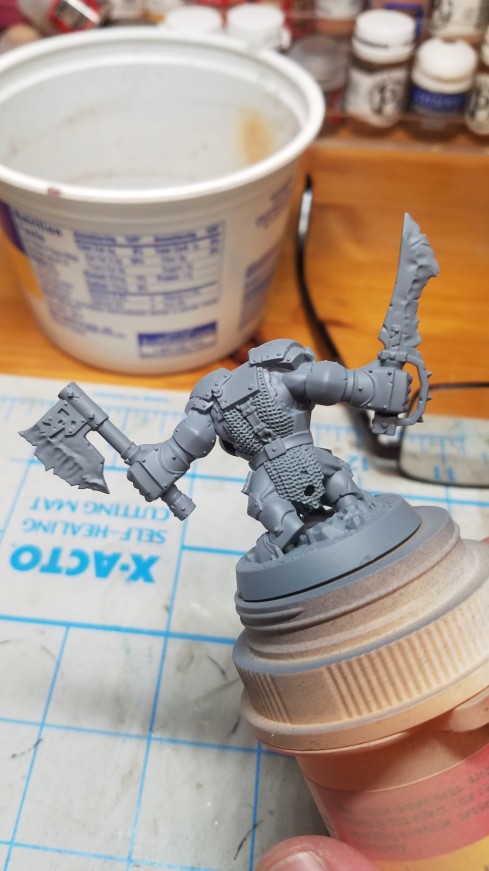
Ironjaw’s Boys. Leaving the arm and cloak off the leader for painting access: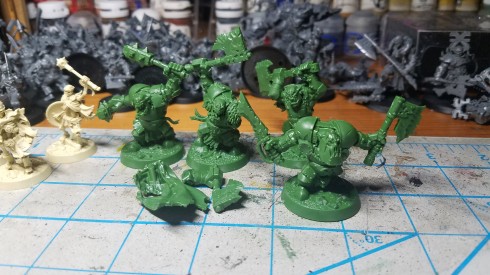
Love this guy’s detail.
The armor, still work in progress, but going for a two-toned look.
The Guard. Lots of personality for undead models.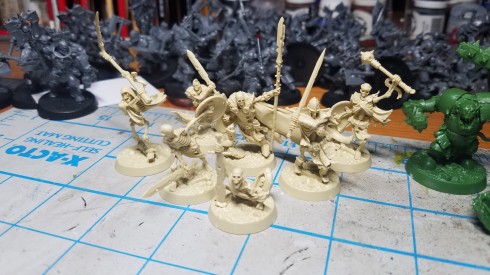
Painting bone R fun!
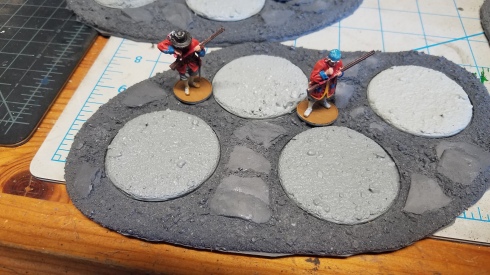
Was looking for some area terrain templates for foliage/trees I wouldn’t have to build myself. I know that sounds lazy, but time’s not a big luxury for me these days. Was fortunate to be directed to Worldsmith Industries, and their area terrain templates. I received the order this week and thought I’d post what they looked like out of the box. Looking forward to cleaning and painting these up along with adding plants and trees.
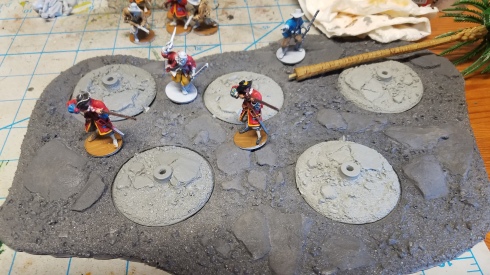
I ordered the Base 3, Base 4, and Base 5.2 pieces along with 6 Bare Earth and 6 Tree Stump inserts. Here’s the three of them together, with the 50mm inserts spread across the group. As you can see, the casting is clean, few details needing cleanup/edges trimmed. The stumps fit the palms I picked up on Ebay nicely, and I can use the flat inserts for other trees I have with thicker trunks and/or clumps of plants. The resin is sturdy, but not too thick. Plenty of table coverage with these guys.
One other thought. The 50mm inserts are pretty stable alone. The blanks are great for 50mm foliage clumps, and the stumps for trees. Topheavy terrain may not do as well, but it’s a thought. Could always buy an assortment of both (the inserts are sold in packs separately so you can mix and match) to have on hand for the templates or as standalone scatter.
I did ask Worldsmith if they would be creating these without the rock formations sculpted in. At this time they have no plans to, but additional flocking/plants glued down will cover up the ones I don’t want showing easily. Look for progress reports coming (hopefully) soon.
Overall, definitely worth the price! Take a look here!
The Group:
Base 3
Base 4
Base 5.2
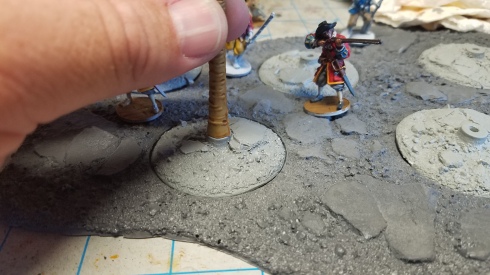
Checking the stump!:
Met up with my good friend Daniel yesterday for a game of Blood and Plunder. We are still getting used to the play style and rules (top notch, highly recommend), but are having a blast. We decided to play the Raid scenario and had Daniel’s Spanish as the attackers and my English Militia as defenders. Quick story was that in response to Spanish raids in the area the English had increased their presence and had heard a raiding party was headed toward a settlement nearby. The militia set up on the outskirts of the settlement to keep it from being sacked.
Dan’s English (101 points – yikes!)
Experienced Commander
5 Trained Militia x2
5 Freebooters
4 Sea Dogs
Daniel’s Spanish (99 points)
Experienced Commander
4 Lanceros x2
4 Milicianos Indios
4 Milicianos
SETUP
We played on a 4×4 table using the terrain available at the store that day. Set things up like it was the outskirts of a settlement/group of farms with the jungle close by. Plenty of terrain for the Spanish to use as cover (to my later disgust). The two unpainted sets of cargo are our objectives.
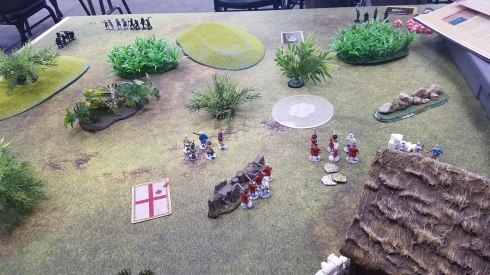 My initial plan was to hold back with the militia in true defensive fashion while using the sea dogs and freebooters to get a better angle against/slow down his force. His was to move up in cover to protect his lanceros.
TURN 1
I shifted my militia with the commander to the right, leaving the other units out of his command range to protect that flank. My sea dogs moved forward into cover as well. He moved forward making good use of the terrain and eliminated two sea dogs with the indios’ arrows.


Result: Spanish victory! At the end of the game I had amassed a good number of Strike Points, ensuring the Spanish win. The game did go the distance, and with a few more saves or Spanish casualties it might have swung the other way. Tons of fun were had. We both made a couple errors in the rules, including Daniel forgetting his force special rule about deployment, and I realizing far too late that it would have been better to hold my shots for defensive attacks rather than try to eliminate the enemy hiding prone in thick foliage with smoothbore weapons. 😐


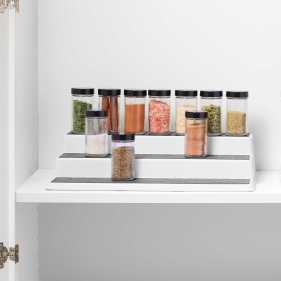
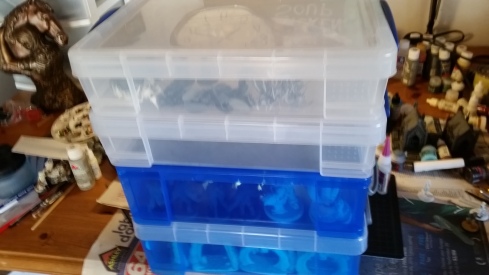
I’ve been messing with how best to store my paints where I can access them easily for a while. I have a large table with plenty of depth, but I found that reaching further back for paints was a hassle. I was using pantry organizing risers like these:
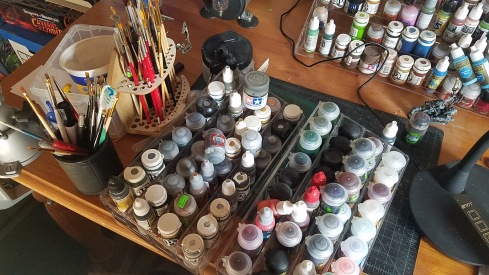
However, I found that they were a bit unwieldy and didn’t have a top shelf backing, so paints would fall off…Also, I had to cut small blocks of foam as risers for the deep shelves to stack the paints two deep. They worked, but weren’t idea.
I then looked at the woodcut lines out there. So many nice products for storing paints, but none did what I wanted them to (I’m sure someone can show me otherwise, but I didn’t find what fit my need), which was mainly allow the varying sizes of hobby paint bottle in each slot. I use P3, Vallejo, GW, and Army Painter – plus a few random off brands. None seemed to be all things for me. The quest continued.
Finally I saw someone using nail polish racks in an image or two. Was amazed by the simplicity of the idea! Did a bit of research of the depth of the shelves I wanted and went to town. Bought a couple from Container Store that were lower as a starting point, then bought a taller rack from Amazon. I’ve since swapped out two of the smaller racks for two tall racks and the results are below. I did a couple fast pictures to show how things stand, please forgive the clutter. 🙂 The two shorter racks now hold my black/gray and metallics in one and the technicals and washes in the other.
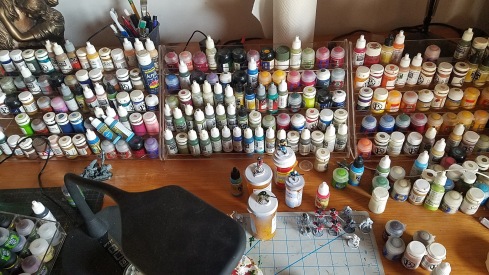
 The tall racks hold everything else. All my moving things around has me needing to resort the colors and pull duplicates out for now.
Started working on my Blood and Plunder English pirates. After the announced death of Spartan Games my interest in finishing my Russian fleet sort of waned. Enjoying working on some simple sculpts for a change, not enjoying reteaching myself how best to paint over white primer. Trying to color block out the pants/shirts ahead of time as well. These are English Freebooters. Kind of heavy handed with my base coating, but end results will be good.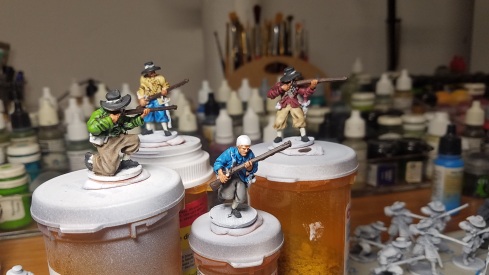
We are back hot and heavy with the 6 month Conquering the Lead Mountain painting challenge. I haven’t been able to get much done Weeks 1 and 2 but the assembling of a stack of Shadows of Brimstone Kickstarter models just before we started I will say counts for me. 😀
For now, I’m focusing on getting what should be a fairly easy project completed, one of my two Dystopian Wars fleets – my Russian Coalition. I’ll post more on the inspirations for the color scheme, and my tester ship which is nearly completed, but I was so pleased with how the hull tones were coming out I went ahead and base colored the entire fleet last week in preparation of some speedy assembly line painting. Here’s a quick shot of the models while drying. Next update, better pix of the ships (and hopefully a few finished ones).
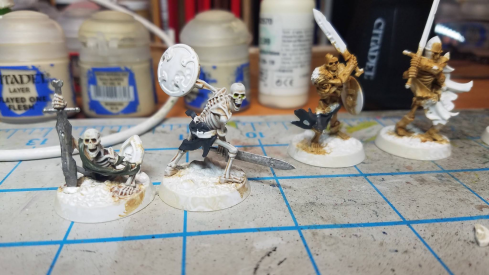
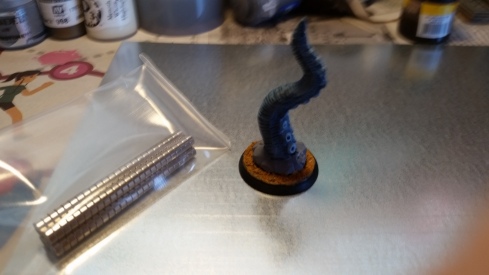
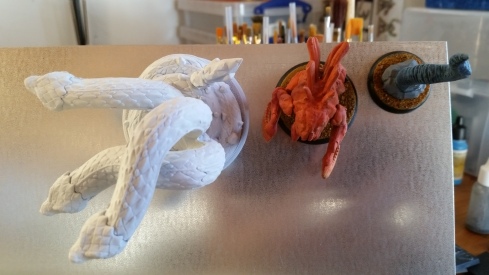
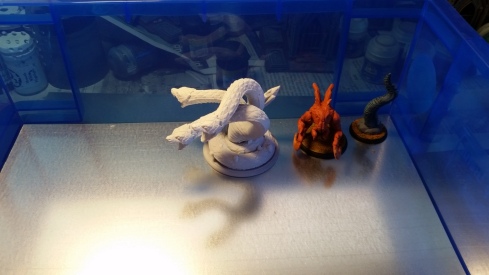
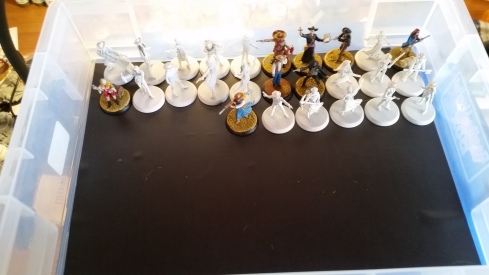
By now the reason for my blog’s name should be clear. I’m always flitting between projects, usually what we’re gaming at the time or whatever’s in my crosshairs. I recently had an opportunity to pick up two core sets for the new Fantasy Flight Games miniatures game, Runewars. It’s a rank and file type miniatures game using many of the tried and true FFG game mechanics, including the X-Wing/Armada movement templates. I’ll write a review here soon, but for now wanted to start posting pictures of the minis. They’re quite nice, in my opinion. Bendy like Imperial Assault, but take paint well enough. The detail isn’t too over the top, just enough to get them looking nice for the game. I also enjoy the crisp/slightly cartoony aesthetic. I’m debating on the color schemes for the humans (Daqan) and undead (Waiqar) uniforms, but for now I’m starting on the basics: skeleton bones, horses, and skin tones. I know how the armor on the undead will look, just debating on what colors to do their tattered uniforms.


Added some color blocking tonight. Need to layer the colors.


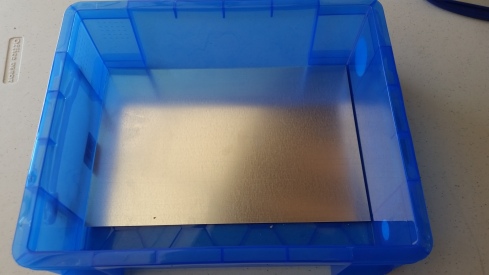
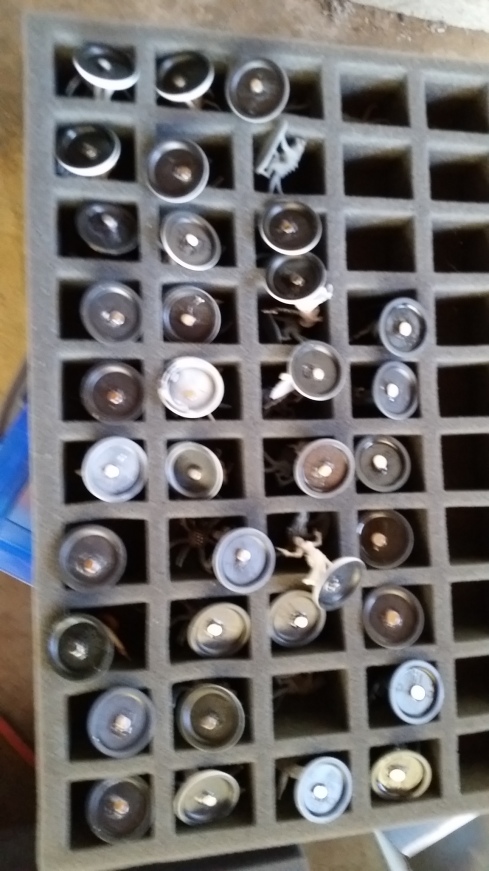
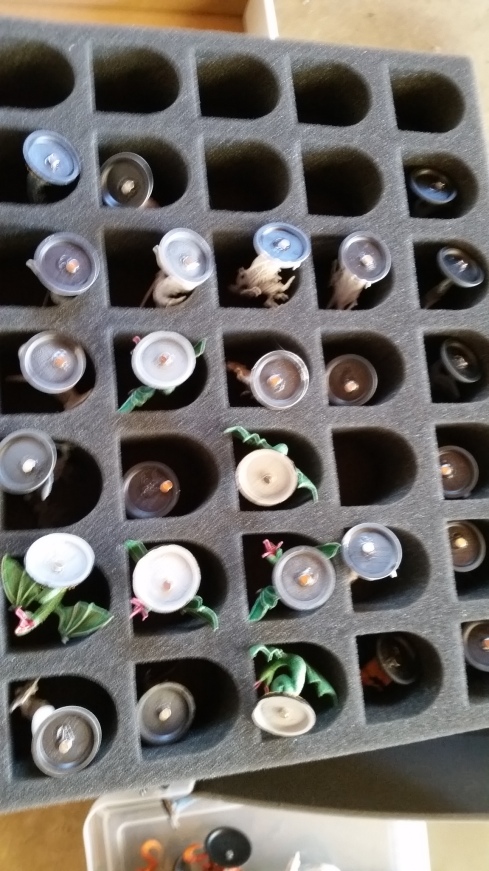
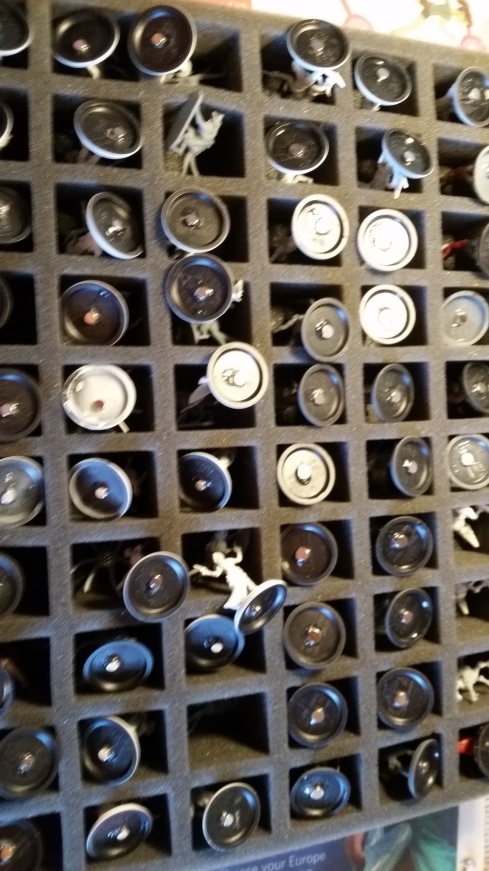
One of the hard things about being a Shadows of Brimstone hoarder is that the model count for a completist is the sheer number and how to store/transport them. Some are a little on the fragile side (undead miner hands!), others are huge (Beli’al!). I was transporting all of mine to date in a Battle Foam transport bag, that I’d all but filled up and still had two large models, the Harbinger and the big worm, in another container. Because I’m waiting on some GenCon treats to arrive that include more models and the rest of the Kickstarter hasn’t yet arrived I realized I’d have to buy another bag or find something more modular to cover my needs. I also found it distracting at the table to dig for what we need in-game and this option allows easy location of the required baddies while we game.
I started with Really Useful Boxes that I already had for some different projects/storage. They’re, wait for it, really useful and I highly recommend the line. They’re stackable, durable, lock well, etc. Then I grabbed magnets from this great shop (local, so got to go in and shop with one of their engineers) Amazing Magnets and metal shingles at 84 cents each from Home Depot. Armed with some model glue and a glue gun I went to work. Still need a couple more metal sheets, and 100 magnets plus later!!
Edit: was asked which model number at Amazing Magnets: Product # D094A2 magnet. diameter: .1875″/thickness: .09375″, grade N40. They were $18.10 for 100.
So I was able to get my hands on the new Malifaux Ten Thunders Shadow Emissary model. I’m still behind on the updated fluff (and when I was writing it up, Misaki was to be the Dragon, not Shen Long, but that’s a tale for another day), so unsure what the deal with the Emissaries are (other than they came from Zoraida…like the Effigies?), but oh the model!
The Emissaries are huge models compared to most anything that Wyrd has done before. I know I’ll wind up getting a few of the as they’re simply awesome looking models, and if the Shadow Emissary’s any indication a high quality set of models to add to your collection. One thing with the Shadow Emissary is that he’s really tall and really long (as befitting an Asian-themed Dragon). I’d thought about pinning parts together, and eventually settled on magnetizing his tail portion for transport. Here’s the results. I won’t get to painting him for a bit, but was hoping to use him this weekend in a tournament at the Realm in Brea, CA.
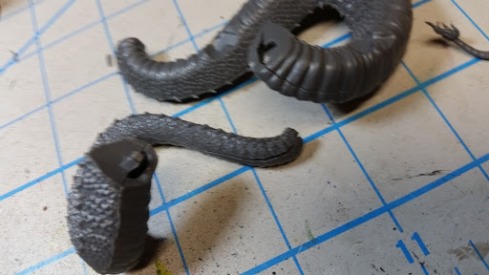
The conundrum. Here’s the two main body sections (not even the neck piece or tail piece on this sucker. Note the gaps in the plastic and the slot/tab assembly. The model fit together fine with these, but I figured after some looking and dry fitting this would be a good place for the magnet.
I had 1/2″ diameter magnets to use, left the body parts in halves, and then went to work with a power drill. The drill was too mighty, so I got a very basic start with it and hacked away with a hobby knife when it got to the delicate steps.
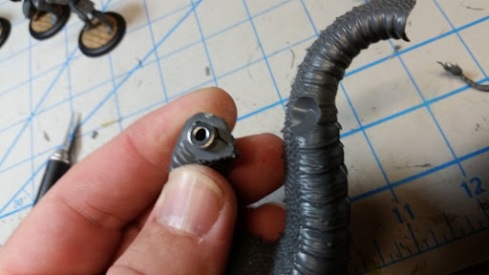
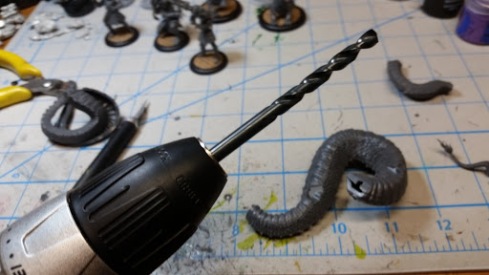
After figuring out the positions for the magnets I dropped some Gray Stuff into the halves, seated the magnets and made sure they lined up, reseated in the Gray Stuff, pulled the halves apart to adjust things, reseated, etc. Got it where I liked it in a few passes.
")
")

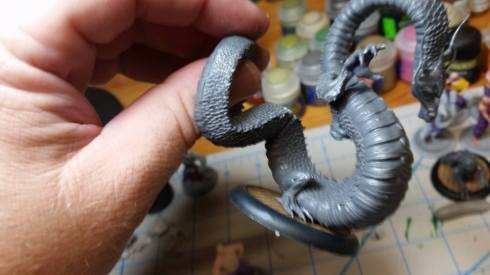
Finally, all was where I was happy with it. Put the thing together and then did a test lift for strength and ‘spin factor’ with the things. Looks great. Love the model!
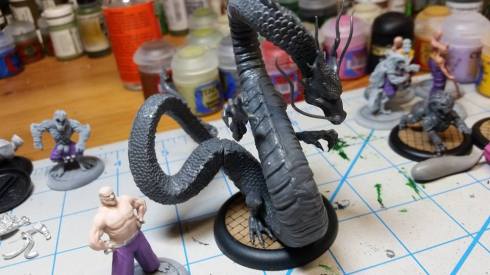
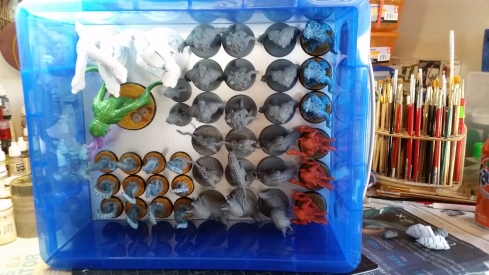
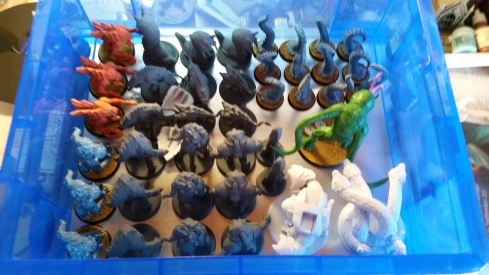
Here’s a side view of how long it is. You can get a vibe of the scale with Master Yu in the above shot plus this green guy below.

Welp, that’s it until next time. You can see some semi-painted stuff in the background. Took a quick break from the 10AAT Grots to get some Malifaux assembled for the event. Back to it all after Saturday.
